
Construction Site Cleanup Checklist: Managing Debris From Start to Finish
Published · Guide by WTR Services
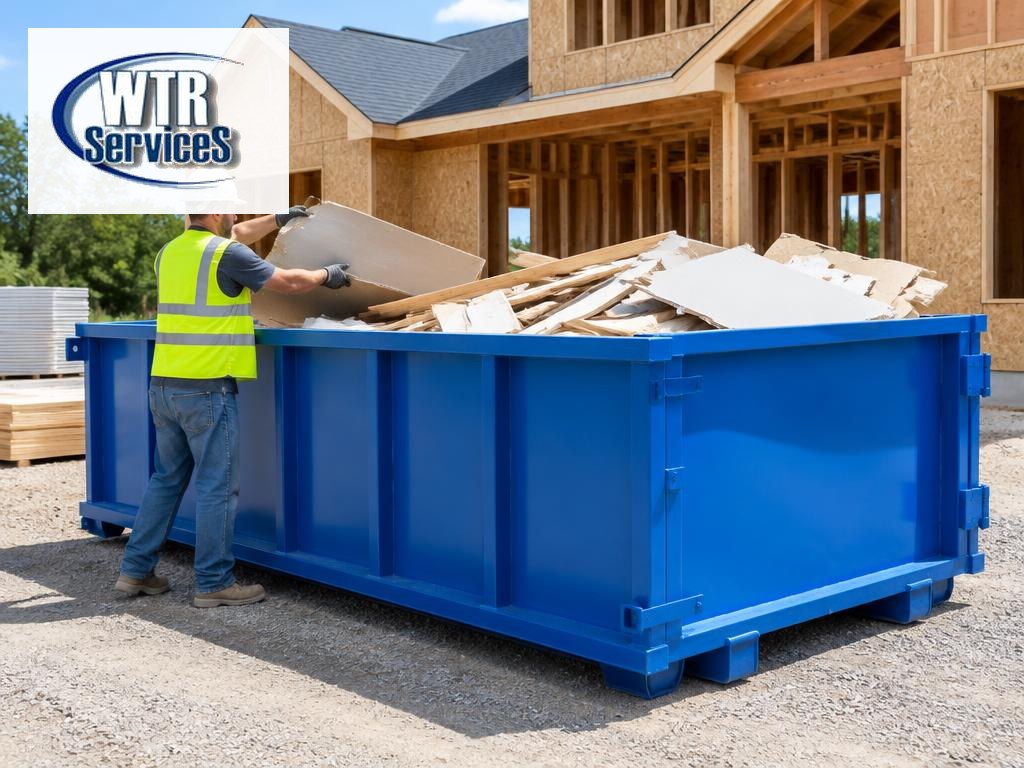
Construction projects generate waste from the moment demolition begins until the final finishing work is complete. Lumber, drywall, packaging, flooring, roofing materials, scrap metal, and other debris can quickly accumulate across a job site. Without a clear waste management process, construction debris can slow down crews, create safety hazards, interfere with equipment, and make final cleanup much more difficult. Using a dumpster for construction cleanup gives contractors a centralized location for approved debris while helping crews maintain a more organized job site. However, successful construction site cleanup requires more than simply placing a dumpster on the property. Contractors need a workflow that covers debris planning, dumpster placement, daily cleanup, material separation, loading, final inspection, and construction waste disposal. This guide provides a practical cleanup process that contractors can use from project preparation through final job site cleanup.
Why Construction Site Cleanup Should Start Before Construction
- Keep debris from accumulating in work areas
- Reduce unnecessary hauling trips
- Improve job site safety
- Keep walkways and access points clear
- Organize recyclable materials
- Estimate dumpster capacity
- Schedule timely waste removal
- Maintain a professional work environment
Step 1: Create a Construction Waste Management Plan
- Expected waste types
- Estimated waste volume
- Required dumpster size
- Dumpster placement
- Pickup schedule
- Recycling or salvage opportunities
- Prohibited materials
Step 2: Identify and Separate Waste Streams
Step 3: Choose the Right Dumpster
- 10-yard dumpster: suitable for smaller construction or renovation projects with limited debris.
- 20-yard dumpster: a practical option for medium-sized construction and remodeling projects.
- 30-yard dumpster: useful for larger renovation and construction projects generating substantial amounts of debris.
- 40-yard dumpster: designed for high-volume construction, demolition, and commercial projects.
Step 4: Plan Dumpster Placement
- Provides sufficient space for delivery
- Allows safe access for the collection truck
- Does not block entrances or emergency access
- Does not interfere with construction equipment
- Provides convenient access for workers
- Has an appropriate surface for the container
Step 5: Establish Daily Cleanup Procedures
- Morning: check the dumpster and surrounding area before work begins.
- During the workday: place approved debris into the dumpster as materials are removed.
- Before breaks: clear major debris from active work areas.
- End of day: perform a final cleanup of walkways, work areas, entry points, staging areas, and equipment zones.
Step 6: Load Construction Debris Safely
- Break down bulky materials: break down boxes, cabinets, wood, and other large materials when practical.
- Distribute weight evenly: don't concentrate heavy materials in one section of the container.
- Load heavy materials first: place heavier approved materials toward the bottom when possible.
- Keep debris below the fill line: never allow debris to extend above the designated fill level.
- Keep the area around the dumpster clear: workers should be able to approach the dumpster safely without navigating piles of loose debris.
Step 7: Manage Heavy and Oversized Materials
Step 8: Schedule Dumpster Pickup and Replacement
Step 9: Complete the Final Job Site Cleanup
- Remove remaining loose debris.
- Sweep floors and access areas.
- Clear walkways.
- Check behind structures and equipment.
- Remove leftover packaging.
- Collect scrap materials.
- Separate recyclable materials.
- Inspect landscaping around the site.
- Confirm no prohibited waste is present.
- Verify the dumpster is properly loaded.
- Schedule final pickup.
Construction Site Cleanup Checklist
- Estimate waste volume.
- Identify expected waste types.
- Determine recyclable materials.
- Choose dumpster size.
- Confirm accepted materials.
- Schedule delivery.
- Select dumpster placement area.
- Establish daily cleanup procedures.
- Keep work areas clear.
- Place approved debris directly into the dumpster.
- Break down bulky materials.
- Distribute weight evenly.
- Keep debris below the fill line.
- Separate restricted materials.
- Monitor dumpster capacity.
- Schedule replacement when necessary.
- Remove remaining debris.
- Sweep work areas.
- Clear access routes.
- Separate recyclable materials.
- Inspect the property.
- Confirm dumpster loading requirements are met.
- Schedule final pickup.
Common Construction Cleanup Mistakes
Why Choose WTR Services?
Conclusion
Frequently Asked Questions
Keep Reading: Related Guides
- Dumpster Rental for Property Managers: Turnovers, Tenant Move-Outs & Maintenance Cleanup
A property management dumpster rental workflow for apartment turnovers, tenant move-out cleanup, maintenance debris, and rental property cleanouts.
- Dumpster Rental for New Construction: A Waste Management Plan for Builders
Plan dumpster rental for construction sites with a phased waste management approach covering site preparation, framing, exterior work, finishing, and final cleanup.
- Heavy Equipment Hauling Services: When Do You Need Specialized Equipment Transport?
Moving an excavator, bulldozer, or crane takes more than a standard truck. Learn when specialized equipment transport is needed, what to prepare, and what to ask before hiring a hauler in Northeast Ohio.
- Dirt Hauling Services: What Homeowners and Contractors Should Know Before Hiring a Hauler
Excavation, landscaping, and pool projects leave big soil piles behind. Learn when you need dirt hauling, what to check before hiring a hauler, and how to prepare your property in Northeast Ohio.