
All Articles

How to Estimate Waste Volume Before Starting a Home Renovation

Published · Guide by WTR Services
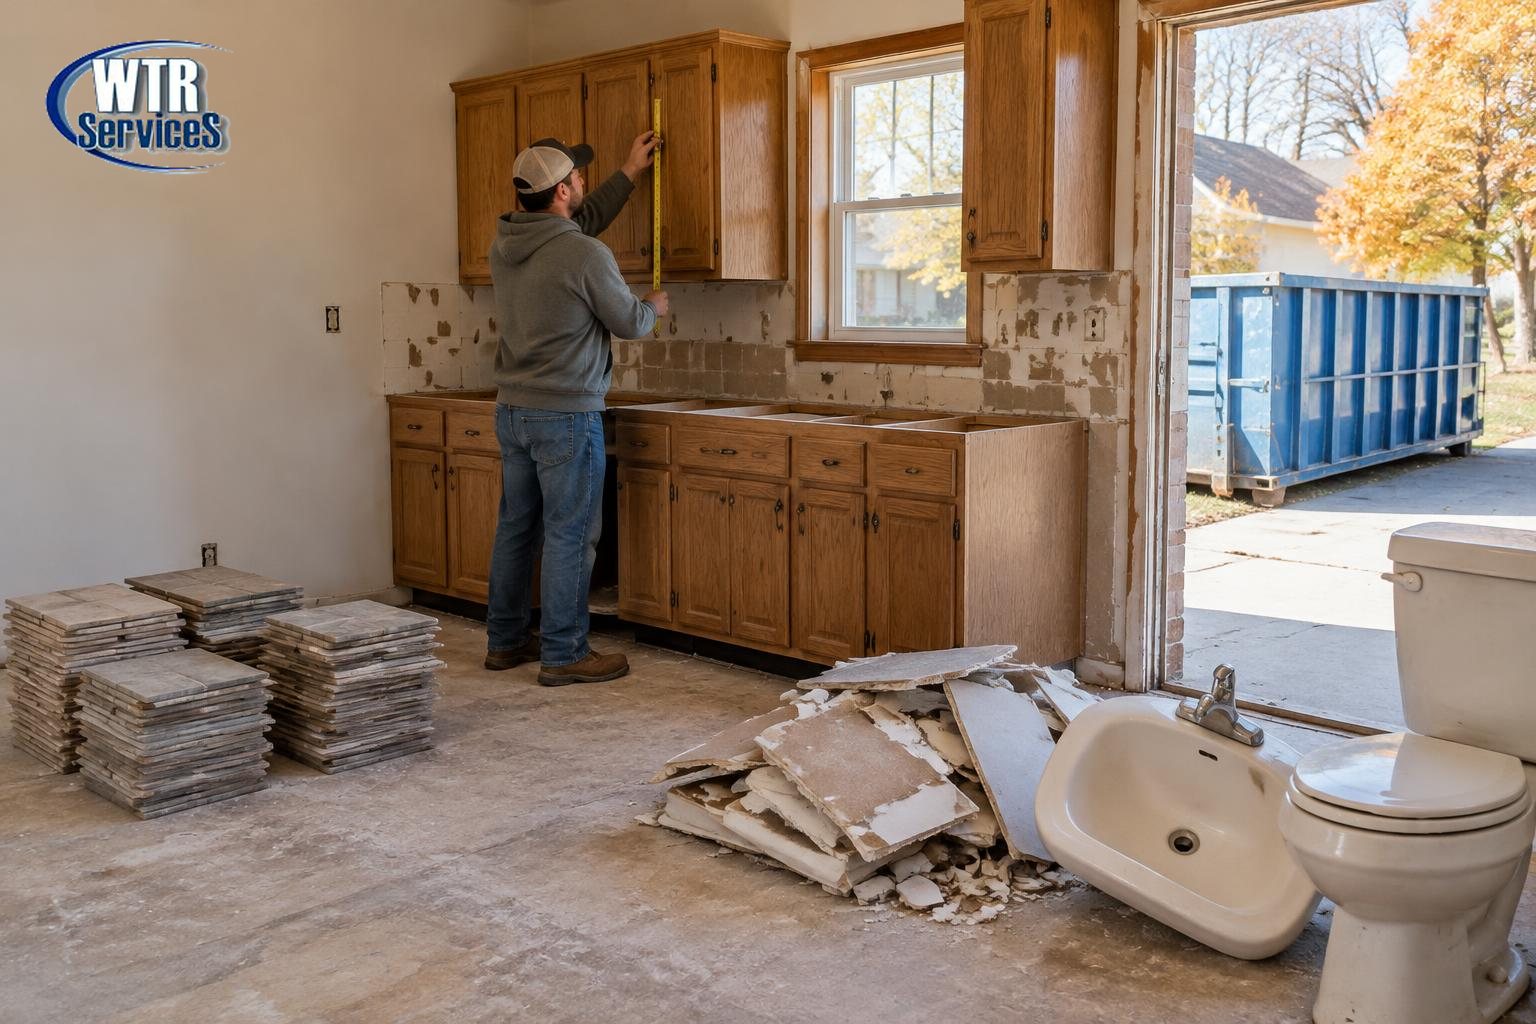
Homeowner measuring kitchen cabinets beside stacked floor tile, broken drywall and a removed sink and toilet, with a blue roll-off dumpster outside and the WTR Services logo in the upper-left

Planning a home renovation involves more than choosing materials and setting a budget. You also need to think about how much waste the project will produce. Old flooring, damaged cabinets, drywall and unwanted fixtures can take up space quickly.

Good renovation debris planning helps you estimate the amount of waste before work starts, choose a suitable disposal option and prevent surprise charges during the project.

Why Should You Estimate Renovation Waste in Advance?

Every renovation creates a different amount of waste. A small bathroom update may leave behind a few tiles and fixtures, while a kitchen renovation can produce old cabinets, flooring and countertops. Estimating household renovation waste before demolition helps you plan collection and makes remodeling cleanup easier. It also answers the question of what size dumpster you need, so you can choose the right container, avoid extra hauls and keep your work area clean and organized. This guide works from the materials you plan to remove while they are still in place. If demolition is already done and the debris is piled up, measure the piles instead with the project debris estimating guide.

How Can You Estimate Waste From Different Renovation Materials?

The easiest way to estimate renovation waste is to split the project into parts. Look at each material separately instead of guessing one total for the whole job.
MaterialWhat to measureWhat changes the estimate
FlooringFloor area in square feet and the layers being removedTile, mortar, underlayment and broken pieces
Cabinets and countertopsLength, depth and height of each runWhether boxes are dismantled or removed whole
DrywallHeight and width of each wall or ceiling sectionInsulation, studs and how the board breaks
FixturesCount and rough dimensions of each itemOdd shapes that leave empty space around them
The sections below explain how to measure each one. 1. Flooring Materials Removing old flooring can create a surprising amount of waste. The volume depends on the room size and the type of material coming up. Carpet is usually lighter and easy to roll, while ceramic tile, hardwood and laminate are heavier and do not compress the same way. To estimate flooring waste:
  • Measure the floor area in square feet.
  • Identify each layer being removed.
  • Note the thickness of the material.
  • Account for underlayment, adhesive and broken pieces.
  • Allow extra space for irregular debris.
Here is an example. A 12 × 14 ft kitchen has 168 square feet of floor. If the tile, mortar and backer board together are about 1 inch thick, the solid material works out to 168 × 1 ÷ 12 = 14 cubic feet, or about 0.5 cubic yard. Broken tile does not stack neatly, so it will take up more room in the container than that solid figure. It is also heavy, so check the weight as well as the space. 2. Kitchen and Bathroom Cabinets Cabinets, drawers, shelves and countertops create bulky waste. Their volume depends on their size, how they are built and whether they can be taken apart. Measure the length, depth and height of each cabinet run. For example, a 10 ft run of base cabinets that is 2 ft deep and 3 ft tall takes up 10 × 2 × 3 = 60 cubic feet when removed whole. A matching run of wall cabinets that is 1 ft deep and 2.5 ft tall adds 25 cubic feet. Together that is 85 cubic feet, or about 3.1 cubic yards, before the countertop. Keep these points in mind:
  • Remove loose shelves and drawers first.
  • Break down large cabinet boxes where it is safe to do so.
  • Measure countertops separately.
  • Check whether any parts can be reused, donated or recycled.
  • Allow extra room for bulky pieces that cannot be stacked.
Taking cabinets apart usually reduces the space they need. If you plan to donate or sell them, remove them carefully instead. 3. Drywall and Plaster Removing drywall can create a large amount of debris, especially when several walls or ceilings come out. Measure the height and width of each wall section and multiply them to get the surface area. Then factor in the board thickness. A 12 ft wall that is 8 ft high has 96 square feet of surface. At 1/2 inch thick, the board itself is only 96 × 0.5 ÷ 12 = 4 cubic feet of solid material. That small number is misleading. Drywall breaks into uneven pieces, and insulation, studs, screws and trim usually come out with it. Treat the solid figure as a starting point and plan for the debris to take up considerably more space once it is broken and loaded. Keep drywall separate where local disposal rules require it, and keep it dry. Wet drywall is much heavier. 4. Fixtures and Fittings Old sinks, toilets, bathtubs, faucets, light fixtures and shower units also add to renovation debris. These items may not cover much floor area, but their shape makes them awkward to fit into a container. A standard bathtub is roughly 5 ft long, 2.5 ft wide and 1.5 ft deep, which is about 19 cubic feet, or 0.7 cubic yard, on its own. Make a list of the fixtures you plan to remove. Write down rough dimensions for each one and check whether it can be taken apart safely. Separate reusable fittings from damaged items as well. That cuts down on unnecessary disposal and leaves more room in the container.

How Can You Calculate the Total Waste Volume?

Once you have estimated each material, add the numbers together to get an approximate total. For regular shapes, use this formula: Length (ft) × width (ft) × height (ft) ÷ 27 = cubic yards Take every measurement in feet. One cubic yard is 27 cubic feet, and dumpsters are sized in cubic yards. For example, a pile of dismantled cabinets that measures 6 ft long, 3 ft wide and 3 ft high is 54 cubic feet, which is exactly 2 cubic yards. Renovation debris is rarely a tidy shape, though. Broken tile, loose drywall and odd-shaped fixtures leave gaps when they are loaded together. For a more reliable home renovation waste estimation, allow extra space for those gaps instead of sizing the container from exact material dimensions alone. A practical approach is to:
  • Measure each major waste category.
  • Convert each measurement to cubic yards.
  • Add the estimated volumes together.
  • Allow extra space for irregular and bulky pieces.
  • Compare the total with available dumpster sizes.
This gives you a more realistic idea of the container capacity your project needs. Renovating a whole building? The building renovation container capacity worksheet shows how to total every area and decide between one container and several hauls.

What Factors Can Affect Your Waste Estimate?

Even a careful estimate can change once work begins. Hidden damage, extra repairs and unplanned removal can all add debris. Consider these factors before you finalize your disposal plans:
  • Project size: Larger renovation areas generally produce more waste.
  • Material type: Tile, concrete and plaster are heavier than carpet or wood.
  • Existing damage: Water-damaged walls or rotted subfloor may need to come out too.
  • Removal method: Whole cabinets and fixtures take up more space than broken-down pieces.
  • Packaging waste: New flooring, fixtures and supplies arrive with cardboard, plastic and other packaging.
Building these details into your renovation debris planning helps you prepare for surprises without overestimating the container size. If you suspect older materials such as asbestos-containing flooring or lead paint, have them assessed before removal. These materials need separate handling and cannot go in a standard dumpster. Review the Ohio prohibited items guide before you start.

How Can You Choose the Right Dumpster for Your Project?

After estimating your waste, compare it with the available residential dumpster sizes. Choose a container with enough space and a suitable weight allowance for your debris. Compare residential dumpster sizes and the guide to what size dumpster you need with your total. Heavy material such as tile can reach the weight allowance before the container looks full, so also review dumpster weight limits. A residential dumpster rental works well for household renovations, while a construction dumpster rental may suit larger projects. Consider the type and amount of waste before deciding. WTR Services can help you choose a suitable container based on your project details.

How Can You Keep Renovation Waste Under Control?

Estimating waste is only one part of managing a renovation. Keeping debris organized throughout the work makes collection and disposal easier. Follow these simple practices:
  • Separate materials: Keep wood, metal, cardboard and other waste apart where possible.
  • Break down bulky items: Take apart cabinets and furniture to reduce wasted space.
  • Protect reusable materials: Set aside items that can be donated or recycled.
  • Avoid overfilling: Follow the container's loading instructions and weight allowance.
  • Arrange timely pickup: Do not let waste pile up around the property.
Good organization also makes remodeling cleanup easier once the main work is done. When arranging home improvement disposal, check local rules and confirm which materials your provider accepts. Some items need separate handling. Once the dumpster arrives, follow safe roll-off loading practices.

Plan Your Renovation Waste Disposal With Confidence

Estimating waste before a renovation helps you choose the right dumpster and avoid unexpected charges. Measure the flooring, cabinets, drywall and fixtures you plan to remove, then add a cushion for irregular debris. Good renovation debris planning makes disposal easier and keeps your work area clean. For room-by-room sizing ideas, see the kitchen versus bathroom remodeling guide. Send WTR Services your renovation details or call (330) 399-3817 with your material list and measurements, and we can help you find a container that fits the job.

Key Takeaways

  • Estimate waste separately for flooring, cabinets, drywall and fixtures.
  • Measure in feet and convert to cubic yards for easy comparison.
  • Allow extra space for broken and irregular materials.
  • Consider both container capacity and weight allowance.
  • Separate recyclable and reusable materials where possible.
  • Choose a suitable dumpster before renovation work begins.

Frequently Asked Questions

Keep Reading: Related Guides