
Choosing the Right Waste Container for a Multi-Room Home Remodel
Published · Guide by WTR Services
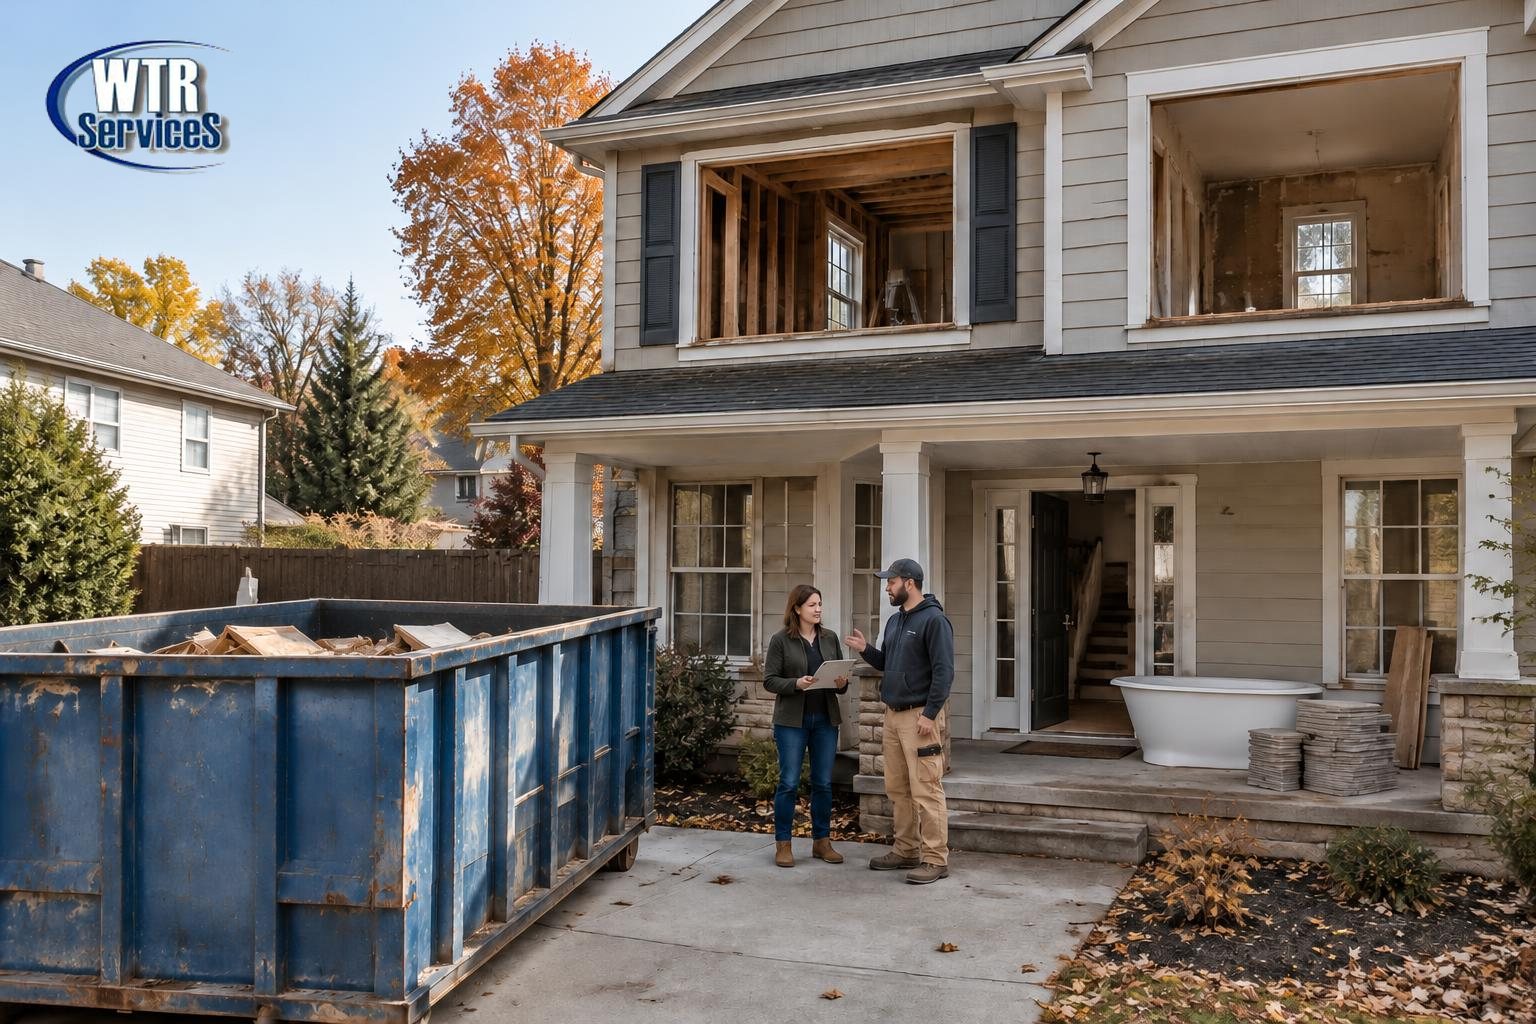
A multi-room remodel is exciting: a new kitchen, a fresh bathroom, better floors. But the mess arrives long before the finished look does.
Old cabinets, cracked tile, torn carpet and drywall scraps pile up fast. Without a plan, your driveway turns into a storage yard. The right home remodeling waste container keeps your site clear and your project moving.
This guide shows you how to plan disposal room by room and phase by phase, and how to pick the right container for each stage. No jargon, just practical steps.
Why Does a Multi-Room Remodel Create So Much Waste?
- Volume: Several rooms mean several times the debris.
- Mixed materials: Wood, metal, tile, glass and plaster all end up together.
- Weight: Tile, concrete and old fixtures are much heavier than they look.
- Timing: Waste builds up at different stages, not all at once.
What Does Each Room Send to the Dumpster?
- Carpet and padding
- Old baseboards and door frames
- Drywall and lumber scraps
- Packaging from new materials
How Do You Plan Disposal in Phases?
- Strip-out: Heavy, bulky waste from every room.
- Build stage: Scraps, packaging and smaller debris.
- Finishing: The final clear-out and leftover materials.
What Should You Expect at Each Phase?
How Do You Match the Container to Your Project?
- Heavy items such as tile and concrete belong low in the container and need to stay within the weight allowance.
- Bulky items such as cabinets need open space and sensible stacking.
- Light but bulky waste, like carpet, fills space quickly.
Residential or Construction: Which Rental Is Right for You?
- Are you removing walls, or only surfaces?
- Will heavy materials like brick or concrete be involved?
- How much space do you have for delivery?
Simple Habits for Easier Home Improvement Cleanup
- Keep the delivery spot clear of cars and trash cans.
- Don’t fill above the container’s top edge.
- Set aside items that can be reused or donated before they go in.
- Check what is not allowed, such as paint, asbestos or batteries.
Book Your Container and Start Clearing
Key Takeaways
- Multi-room remodels create waste in waves, not all at once.
- Kitchens bring bulk, while bathrooms bring weight.
- A phased plan keeps your driveway clearer and your containers working.
- Choose your container by both volume and weight.
- Load carefully, keep restricted items out and ask if you are unsure.
- When you are between sizes, compare going up a size with booking an extra pickup.
Frequently Asked Questions
Keep Reading: Related Guides
- Managing Building Debris on Large Construction Sites: A Contractor's Guide
Manage debris on large, multi-crew construction sites: set up sorted collection zones, run more than one container, time pickups to each phase and assign who checks fill levels.
- How to Calculate Container Capacity for a Building Renovation
Work out dumpster capacity for a whole-building renovation: total debris area by area, add a 10–20% allowance, compare 10 to 40-yard sizes and decide on one container or several hauls.
- How to Plan Waste Disposal for a Small Construction Project
Plan waste disposal for a small construction project: list the debris each stage creates, sort it from day one, compare dumpster, hauling and self-haul, and time delivery.
- What Size Roll-Off Container Works Best for a Garage or Basement Cleanout?
Compare 10, 15, 20 and 30-yard roll-off containers for garage and basement cleanouts: count furniture, boxes and appliances, then match your junk to a size.